D-Link DCS-2132L Manual
Wireless ip camera for cloud recording, remote monitoring and playback
Hide thumbs
Also See for DCS-2132L:
- Datasheet (4 pages) ,
- User manual (82 pages) ,
- Quick installation manual (16 pages)
Table of Contents
Configure D-Link DCS-2132L Wireless IP Camera for
Cloud Recording, Remote Monitoring and Playback
Contents
Introduction .............................................................................................................................................. 2
Step 1: Connect Camera to the Network and Find Its IP Address ............................................................ 2
1.1 Connect Camera to the Network .................................................................................................... 2
1.2 Find the Camera's IP Address ......................................................................................................... 3
Step 2: Access the Web-based Camera Configuration Tool ..................................................................... 6
Step 3. Configure Video/Audio or Image Profile Settings ......................................................................... 8
Step 4. Configure Motion Detection Settings ........................................................................................... 9
Step 5. Configure the Events (i.e. FTP Server, Media Type and Event) .................................................. 10
5.1 Configure the FTP Server Info ....................................................................................................... 10
5.2 Configure the Media Type (Image snapshots or video clips) ........................................................ 12
5.3 Configure an Event ........................................................................................................................ 14
6. CameraFTP Viewer .............................................................................................................................. 15
2440 Camino Ramon, Suite 125
San Ramon, CA 94583
Tel: (800)836-0199 Fax: (925)270-1894
Table of Contents

Related Manuals for D-Link DCS-2132L


Summary of Contents for D-Link DCS-2132L
-
Page 1: Table Of Contents
2440 Camino Ramon, Suite 125 San Ramon, CA 94583 Tel: (800)836-0199 Fax: (925)270-1894 Configure D-Link DCS-2132L Wireless IP Camera for Cloud Recording, Remote Monitoring and Playback Contents Introduction .............................. 2 Step 1: Connect Camera to the Network and Find Its IP Address ............2 1.1 Connect Camera to the Network .................... -
Page 2: Introduction
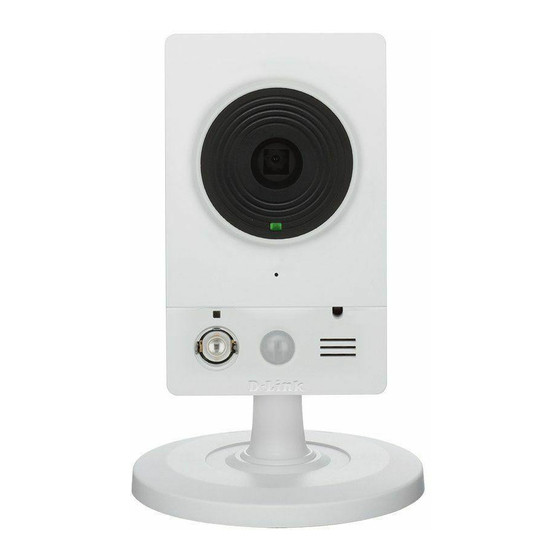
Introduction D-Link DCS 2132L is a very popular 1 MP (1280x800 Pixel) H.264 Wireless IP Camera with night- vision of up to 15 feet and excellent video / image quality. It supports both image snapshot and video/audio recording. You can use H.264 encoded MP4 video format for best compatibility with video viewers. -
Page 3: Find The Camera's Ip Address
(1) If your Wi-Fi router does not support WPS, then you need to connect the camera using an Ethernet cable first. You can configure the Wi-Fi settings in the camera's configuration pages later. (2) If your Wi-Fi access point/router supports WPS, then it is very easy to connect your device to the network: Turn on the camera, then press the WPS button on your Wi-Fi access point for 3 seconds;... - Page 4 Note the default password is blank. After you selected the camera, it will ask you to create and confirm a password. After you entered the password, clicking Next will bring you to setup your network connection:...
- Page 5 Follow the wizard to connect the camera to your network, and click Next. You will be offered to sign up for mydlink service. Mydlink service is useful for live view and accessing your cameras remotely. You can sign up for an account, or select "I don't want to sign up now". CameraFTP’s service is different from mydlink service.
-
Page 6: Step 2: Access The Web-Based Camera Configuration Tool
Step 2: Access the Web-based Camera Configuration Tool Once you have found the camera's IP address, launch a web browser and enter the address of your camera. http://IP_ADDRESS/ It will pop up a logon dialog as follows:... - Page 7 Use the username: admin and the password you created in the Installation Wizard. If you did not create a password, the default password is blank (It is recommended that you change the password). After logging in, you will see the Live Video screen. Once you are in your configuration pages, click Setup, and you will see the Setup Main screen: With CameraFTP’s service, most regular setup steps are not required.
-
Page 8: Step 3. Configure Video/Audio Or Image Profile Settings
Step 3. Configure Video/Audio or Image Profile Settings Click Setup Audio and Video as shown below. You can configure the video and image resolution; in the case of video, you can also configure the video frame rate and bit rate. You only need to configure the Video Profile 1. -
Page 9: Step 4. Configure Motion Detection Settings
The Bit Rate is a little tricky. Setting it too high will use too much upload bandwidth, causing failed uploads; setting it too low will affect the video quality. You can use our bandwidth calculator to estimate the bandwidth. Visit www.cameraftp.com, click Pricing, and then customize a service plan. -
Page 10: Step 5. Configure The Events (I.e. Ftp Server, Media Type And Event)
Motion detection is strongly recommended as it can lower your cost and dramatically reduce bandwidth/storage usage. Moreover, motion detection makes it easier to play back the recorded footage. NOTE: This camera does not fully support continuous recording. It can only record a 1-minute video clip every 2 minutes, or 10 images per minute. - Page 11 You can then add the FTP server info as follows: Check the "FTP" checkbox, and enter the FTP info as follows: FTP server: ftp.cameraftp.com Port: Username and Password: Same as your cameraftp.com username and password. Remote folder name: Same as the camera name you added on...
-
Page 12: Configure The Media Type (Image Snapshots Or Video Clips)
www.cameraftp.com. If you have not created the camera name, please log on to www.cameraftp.com, then click Add in the My Cameras page. This is very important!) Passive Mode: Enabled ( Click Test to test the FTP settings. If successful, click Save Settings. 5.2 Configure the Media Type (Image snapshots or video clips) In this step, we will configure what type of media to be recorded when an event is triggered. - Page 13 Media name: Enter "imageSnapshot" or any other name. Source: Select Profile1. The image's resolution will be set to the video profile 1's frame size; other video parameters will not be used. File Name Prefix: Enter "A" or any other prefix. Also check the checkbox "Add date and time suffix to file name", and set it to send in 3 pre- event images and 7 post-event images.
-
Page 14: Configure An Event
5.3 Configure an Event In the Event Setup screen, click the Add button in the Event Section below the Media section. You will see the Add-Event page as shown below: Event name: Enter any event name, such as EventName1. Enable this event: Check the checkbox Delay for 1 or 2 seconds before detecting next event. -
Page 15: Cameraftp Viewer
In the Event Schedule section, please select "Always" unless you want to exclude certain days or time periods. If you ordered an image plan, then check the radio button "CameraFTP" (which is configured when you added the FTP server), and select the Attached Media "ImageSnapshot". The camera will upload image snapshots to cameraftp.