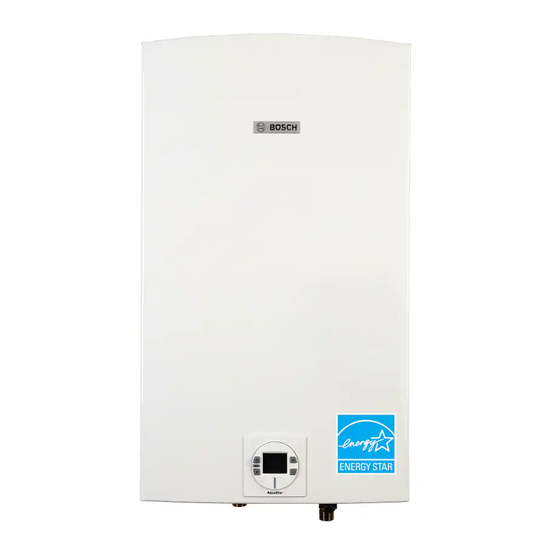
Bosch 715ES Service Bulletin
Replacing the attenuator
Hide thumbs
Also See for 715ES:
- Service bulletin (2 pages) ,
- Quick start manual (2 pages) ,
- User manual (20 pages)
Quick Links
Service Bulletin G3-29
Models: 715ES, 2400ES, 2700ES
Replacing the Attenuator
Introduction
Bosch Thermotechnology recommends the following water
heater adjustments to accomodate installations with a broader
range of operating conditions and to improve operation with
varying characteristics of LP gas combustion.
Tools needed:
Phillips head screwdriver
Preparation
1. Unplug the water heater power supply cord.
2. Loosen two Phillips head screws located at bottom rear of cover.
(Fig. 1, step 1, pos. 1).
3. Lift front cover upward and remove. (Fig. 1, step 1, pos. 2 & 3)
4. Remove secondary combustion cover by unclipping two upper
and two lower clips securing cover. (Fig. 1, step 2)
Step 1
Step 1
3
3
Removing the attenuator
1. Locate attenuator. (Fig. 2, pos. 1).
2. Remove three Phillips head screws from attenuator.
(Fig. 2, pos. 2)
Figure 1
Step 2
Step 2
3. Pull attenuator free from heater. Discard the black o-ring
positioned between the fan assembly and attenuator.
(Fig. 3, pos 1.)
Figure 2

Summary of Contents for Bosch 715ES
- Page 1 Models: 715ES, 2400ES, 2700ES Replacing the Attenuator Introduction Removing the attenuator Bosch Thermotechnology recommends the following water 1. Locate attenuator. (Fig. 2, pos. 1). heater adjustments to accomodate installations with a broader 2. Remove three Phillips head screws from attenuator.
- Page 2 Service bulletin 18 | G3-29 | 715ES, 2400ES, 2700ES 3. Release the program ( ) button when '188' appears on the Figure 3 display. The display should read 'P2'. If not, repeat process. (Fig. 4) 4. Press the ( ) button on the control panel until the display reads 'P1'.


