Table of Contents

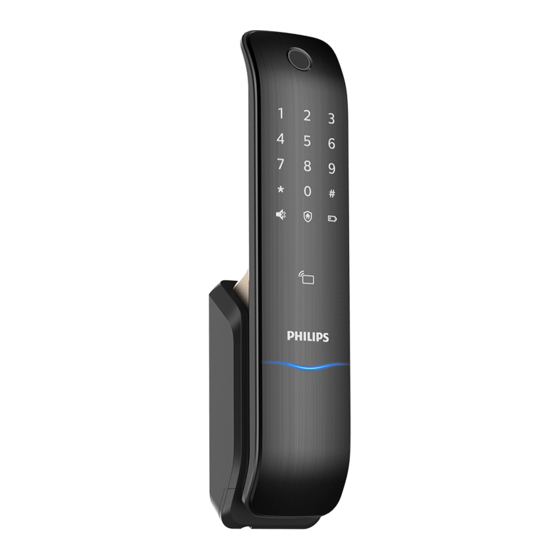
Summary of Contents for Philips EasyKey
-
Page 2: Table Of Contents
Safety Caution Unlock Disposal of used Unlock from outside products and batteries -With a PIN code -With a fingerprint 2 EasyKey Installation -With a card Packing list Unlock from inside Exploded views -With handle Pre-installation instructions -With Close button Installation steps... -
Page 3: Important Information
◆Do not scrape the fingerprint sensor by Philips. The use of such accessories and with sharp objects, otherwise it may cause parts may void your warranty. permanent damage. -
Page 4: Exploded Views
Exploded Views Pre-installation instructions Step 1 | Confirm the door opening direction This product can be installed on doors of 4 directions: left-out pull, right-in push, right-out pull and left-in push. Left-handle open Right-handle open Indoor Indoor Left-in Right- push in push Outdoor Outdoor... - Page 5 Put the mortise in the door and Tighten the anchor screws in the Insert the connecting cables of Keep the multicolor ribbon under align it with the screw tubes in the mortise. outside escutcheon and motor into the batteries while putting the fisrt outside escutcheon.
-
Page 6: Get To Know Your Easykey
3 Get to know your EasyKey 4 How to set up your EasyKey Outside escutcheon Pre-setup Instructions ◆There are 2 modes in the EasyKey: General mode and dual verification mode. General mode Dual verification mode Fingerprint sensor Unlock with any registered... -
Page 7: Modify Master Pin Code
User Information User settings ◆How to enter master mode Register a fingerprint Deletion Register a user PIN code Delete a user PIN code Press [#], enter master PIN code and confirm with [#]. Wake up the keypad Press [#], enter master PIN code and confirm with [#]. -
Page 8: System Settings
System initialization Delete a one-time user PIN code Delete all fingerprints Volume settings Press [#], enter master PIN code and Press [#], enter master PIN code and Press [#], enter master PIN code and confirm with [#]. confrim with [#]. confrim with [#]. -
Page 9: Extended Functions
[2]. Before setting up the Attention extended functions, please download Directly enter 114# to start Local query. and open the Philips EasyKey on your mobile phone. 1 Touch the keypad and 1 Place your registered 1 Place your registered light up the buttons. -
Page 10: Auto/Manual Modes
Lock | Auto/Manual modes Inside Deadlock After the door is locked, long press the [A] represents Auto [CLOSE] button. The button will flash once in red and there will be a voice prompt of Mode, under which “Inside deadlock enabled”. after you shut the door, deadbolt... -
Page 11: Other Functions
6 Other functions 7 The use & meanings of the indicators Restore to default settings Lock status indicator Function: Empty all user information and restore to default settings. Colors of the light and the corresponding meanings: How to use: Blue:After the system wakes up, the light will Long press the [RES] button with a sharp object, glow blue, indicating that you can operate the and all the user information will be emptied. -
Page 12: Mute Mode Indicator
Mute mode indicator [CLOSE] button indicator Colors of the light and the corresponding meanings: Colors of the light and the corresponding 1. Red light with 2 flashes: Indicates the door meanings: has been locked. 1.White: Indicates the mute mode is off. 2. -
Page 13: How To Replace Batteries
How to apply an emergency power Anti-prying alarm Triggering : The door is pried open and the sensor latch bolt pops up. Alarm mode: Continuous repeated alarms. When the battery voltage is insufficient, and the door cannot be opened from the outside, you can Turning off: The alarm can be turned off power up the lock through the Micro USB interface automatically or by a successful verification. - Page 14 Philips and the Philips Shield Emblem have registered trademarks of Koninklijke Philips N.V. and are used under license. This product has been manufactured by and is sold under the responsibility of Shenzhen Conex Intelligent Technology Co., Ltd. and Shenzhen Conex Intelligent Technology Co., Ltd. is the warrantor concerning this product.


