Whirlpool LE5320XT, LE5530XS, LE5600XS, LE5650XM, LE5700XS, E5705XP, LE6055XS, LG5321XT, LG5531XS, LG5601XS, LG5651XM, LG5701XS, LG5706XP, Use And Care Manual
Large capacity automatic dryers
Hide thumbs
Also See for LE5320XT, LE5530XS, LE5600XS, LE5650XM, LE5700XS, E5705XP, LE6055XS, LG5321XT, LG5531XS, LG5601XS, LG5651XM, LG5701XS, LG5706XP,:
- Use and care manual (12 pages)

Related Manuals for Whirlpool LE5320XT, LE5530XS, LE5600XS, LE5650XM, LE5700XS, E5705XP, LE6055XS, LG5321XT, LG5531XS, LG5601XS, LG5651XM, LG5701XS, LG5706XP,


Summary of Contents for Whirlpool LE5320XT, LE5530XS, LE5600XS, LE5650XM, LE5700XS, E5705XP, LE6055XS, LG5321XT, LG5531XS, LG5601XS, LG5651XM, LG5701XS, LG5706XP,
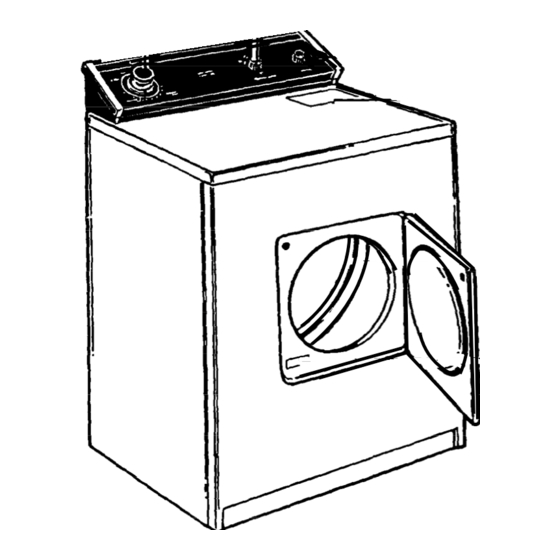
- Page 1 Use & Care Guide Cycte control knob Temperature selector Start bution LARGECAPACITYAUTOMATICDRYERS LE5320XT LE5530XS LE5600XS LE5650XM LE5700XS LE5705XP LE6055XS LG5321XT LG5531XS LG5601XS LG5651XM LG57OlXS LG5706XP LG6056XS...
-
Page 2: Table Of Contents
You should wipe out the dryer drum with a damp doth before using to remove dust from storing or shipping. Thank you for buying a Whirlpool appliance. Please complete and mail the Owner Registration Card provided with this product. -
Page 3: Additional Safety Instructions
Important Safety Instructions To reduce the risk of fire, electrlcal shock, or Injury to persons when using your dryer, follow bask precautkns, Read all lnsttuctkns before using the dryer. NEVER dry items cleaned, washed, soaked in or spotted with wax, paint, gasoline or flammable fluids in the FIRE dryer. -
Page 4: Operatlng Instructlons
Operating instructions Starting your dryer Be sure to refer to the chart below and the Dryer Guide for Proper sorting, bading and oontrol setting information before starting your dryer. NOTE: Do not overdry. Overdrying oan cause shrinkage, some fabrics. TYPE OF LOAD Cottona and linam EXTRA HEAVY-Bedspraads. - Page 5 Select a cyole by turning the Cycle Control Knob either way. Stop when the indicator on the knob’s outer ring points to the cycle and time you want. See pages 6-9 for further cycle information. 2. Set the Temperature Selector the desired temperature setting.
-
Page 6: The Regular Cydes
Operating lnstructluns Continued Mom drying Urna L#r drytng time The regular cycles The names of the regular cycles describe the types of loads they are designed to dry. Each cyde ls followed 5 minute cool-down period. During the cool down, the bad tumbles without heat. -
Page 7: The Permanent Press Cycle
T$;ERMANENT PRESS The PERMANENT PRESS cycle helps provide the special care that psrma- nent press and synthetic fabrfcs need. The cyde consists of a timed period of heated drying and a 10 minute cool- down period. During the cool down, the bad tumbles without heat. -
Page 8: Using Tumble Press
Operating Instnrctbna Continued All models (excepl LE565oXM, LG!xslXM, LE5mXP, LGs706XP) Using TUMBLE PREW The TUMBLE PRESS setting removes wrinkles from cbthing that has been packed in a suitcase or closet, and from items not removed from the dryer at the end of a cycle. 1. -
Page 9: Using Damp Dry
models (excspt LESSOXW, LGs651XY, LE!m5XP, LG5706XP) Model8 LE565oxM, LGSWXM, LE5705XP, LGmMXP ‘/ / =- \ \ Using UAMPDRY Use this setting to dry damp items that do not require an entire drying cycle, or to dry items to damp level. (Two examples are heavy cottons, such as jeans, which you do not want to... -
Page 10: Cleaning The Lint Screen
Caring For Your Dryer Product and Fabric Damage Hazard Do not run the dryer with the llnt ecreen loose, damaged, blocked or mfeslng. Dolng 80 can ceuse overheatlng and damage to both the dryer and fabrics. Cleaning the lint screen The lint screen is located under a lid Clean lt before on top of the dryer. -
Page 11: Cleaning The Dryer
Cleaning the dryer Electrlcal Shock and Personal Injury Hazard Turn off the electrical power before cteanlng the Interior. Make sure the dryer ls cool. Failure to do so could result ln electrical shock or Injury. Fire Hazsrd Use non-flammable cleaner. Failure to do so could result In an explosion. -
Page 12: Lint Removal
Carlng For Your Dryer Continued Elodrk dryer with baclt panel removed Fu:nd I II Gas dryer wlth lower honl acces8 panel mfnoved Lint removal Lint can gather inside the dryer and be a fuel for fire. ft is recommended lint ba removed every 2 to 3 years, or more often, depending on dryer usage. - Page 13 llomove-0 tfyokuchyefk’&sandhamaWIfront bdorm opmlng pfld#-fNlltpcuwl~kl~ 1. Unplug the power supply cord or turn off the electrbal 2. Cpen lint screen lb. Remove two screws in lint screen area. 3. Open top by pulling forward and up at each front corner (see view A). Rest raised top against wall behind dryer (top 4.
-
Page 14: If You Need Service Or Assistance
United States. To locate the authorized Whirlpool service company in your area, call our Consumer Assistance Center telephone number (see Step 2) or bok in your telephone directory Yelbw Pages... - Page 15 If you need FSP replacement parts*... FSP is a registered trademark of Whirlpool Corporation for quality parts. Look for this symbol of quality whenever you need a replacement part for your Whirlpool appliance. replacement parts will fit right and work...
-
Page 16: Warranty
C. Pickup and delivery. This product is designed to be repaired in the home. Damage to dryer caused by accident, misuse, fire, flood, acts of God or use of products not approved by Whirlpool. L Repairs to parts or systems caused by unauthorized made to the appliance.