Quick Links
CT-479 Installation guide/
IMPORTANT
IMPORTANT
IMPORTANT
IMPORTANT
IMPORTANT
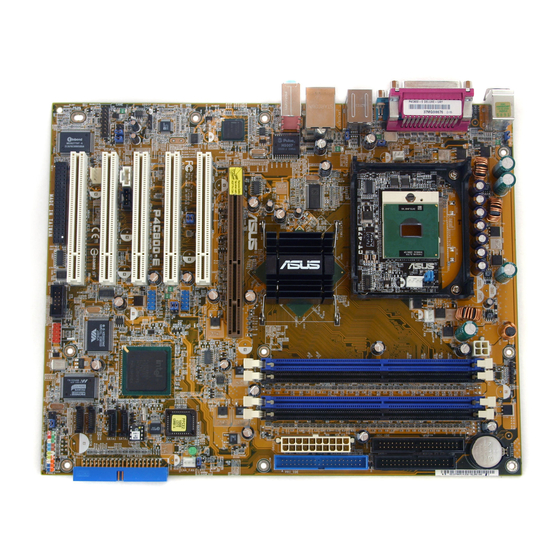
• This module works only with qualified ASUS
motherboards and Intel
®
Pentium
Refer to the module box for the list of qualified
motherboards and processors.
• If necessary, update the motherboard BIOS file.
• Visit the ASUS website (www.asus.com) for an
updated list of qualified motherboards and
processors, and to download the latest BIOS file.
• You cannot adjust the CPU voltage when using this
module.
WARNING!
WARNING!
WARNING!
WARNING!
WARNING!
• Using this module with unqualified motherboards
and/or processors will damage the motherboard,
module, and/or processor.
®
1
CT-479
3
2
1
FSB
POWER1
400
6
5
4
J1
3
2
1
FSB
J1
533
6
5
4
Set the jumper according to your processor Front Side
Bus (FSB). Set the jumper labeled J 1
J 1 to pins 1-2 and 4-5
J 1
J 1
J 1
for FSB 400, or to pins 2-3 and 5-6 for FSB 533.
2
N O T E :
N O T E :
N O T E : Make sure that the
N O T E :
N O T E :
socket lever is lifted up to a
90º - 100º angle; otherwise,
the CT-479 does not fit in
completely.
Locate the 478-pin socket. Press the lever sideways then
lift it up to a 90º-100º angle to unlock the socket.
3
W A R N I N G :
W A R N I N G :
W A R N I N G :
W A R N I N G : The CT-479 fits
W A R N I N G :
B B B B B
only in one orientation. DO
NOT force the CT-479 into
the socket to prevent
bending the pins.
A A A A A
Position the CT-479 above the socket such that the
socket corner with small triangle matches the base of the
socket lever (A), then carefully insert the CT-479 into
the socket until it fits in place (B).
15-061117001
4
®
M processors.
When the CT-479 is in place, push down the socket lever
to secure it. The lever clicks on the side tab to indicate
that it is locked.
®
5
Make sure that the CT-479 socket is unlocked (A).
Position a 479-pin CPU above the CT-479 socket such
that its marked corner matches the corner with small
triangle (B).
6
Carefully insert the CPU into the socket until it fits in
place (A) then use a flat-head screw driver to lock the
CPU in place (B).
7
º
º
Connect the bundled 4-pin power cable to the CT-479
º
º
power connector labeled P O W E R 1
8
Connect the other end of the bundled 4-pin power cable
to a 4-pin ATX power connector from the power supply
unit.
A A A A A
B B B B B
W A R N I N G :
W A R N I N G : The CPU fits only
W A R N I N G :
W A R N I N G :
W A R N I N G :
A A A A A
in one orientation. DO NOT
force the CPU into the CT-479
socket to prevent bending the
pins and damaging the CPU.
B B B B B
P O W E R 1
P O W E R 1
P O W E R 1.
P O W E R 1
9
Remove the protective film and sticker that covers the
Thermal Interface Material (TIM) under the CPU cooler.
10
Fit the CPU cooler into the retention module. Orient the
CPU cooler such that the cleft is on the side with power
cable.
11
A A A A A
B B B B B
Align the metal clip to the side rail of the CPU cooler (A)
and snap the hook of the metal clip into the hole (B).
12
Press down the locking lever and hook its end into the
other hole.
13
I M P O R T A N T : Make sure
I M P O R T A N T :
I M P O R T A N T :
I M P O R T A N T :
I M P O R T A N T :
that the CPU cooler is
installed properly (i.e., not
inclined or tilted) to prevent
damage to the module and/
or processor.
Follow steps 11 and 12 to install the second clip, this
time in the reverse orientation of the first clip.
When the CPU cooler is in place, connect the CPU fan
cable to the CPU fan connector on the motherboard.
Q 2 0 4 7
Q 2 0 4 7
Q 2 0 4 7
Q 2 0 4 7
Q 2 0 4 7
www.asus.com

Related Manuals for Asus CT-479


Summary of Contents for Asus CT-479
- Page 1 WARNING! WARNING! WARNING! When the CT-479 is in place, push down the socket lever • Using this module with unqualified motherboards Remove the protective film and sticker that covers the to secure it. The lever clicks on the side tab to indicate and/or processors will damage the motherboard, Thermal Interface Material (TIM) under the CPU cooler.
- Page 2 BIOS. • Vous ne pouvez pas régler le voltage du CPU en utilisant ce module. Une fois que le CT-479 est en place, pressez le levier du Retirez le film de protection et l’autocollant qui couvre le AVERTISSEMENT! AVERTISSEMENT!