Table of Contents
Quick Links
Table of Contents

Related Manuals for Canon ivy REC


Summary of Contents for Canon ivy REC
- Page 1 USER MANUAL...
- Page 2 CONTENTS SAFETY INFORMATION P3-5 Read Before Use Maintaining The Device Waterproof Cautions OVERVIEW Supplied Items Product Features GETTING STARTED P7-11 Charging Inserting/Removing MicroSD Card Power ON/OFF First Time Pairing With Your Mobile Device Camera Default Settings OPERATIONS P12-13 Wireless Mode Photo Mode Video Mode Multi Mode...
-
Page 3: Safety Information
SAFETY INFORMATION READ BEFORE USE Please read the following instructions and safety precautions before using the device. For regulatory and additional safety information, refer to the Safety Precautions and Warranty Information leaflet included in your package contents. RMN: PG1001 Regulatory Model Identification Number is assigned for regulatory identification purpose. Used to indicate a potentially hazardous situation which, WARNING if not avoided, could result in death or serious injury. - Page 4 Used to indicate the level of a hazard or damage which, CAUTION if product is handled erroneously, may result in injury or property damage other than product faults. • Electromagnetic interference or electrostatic discharge may cause the device to malfunction or the MicroSD card memory to be lost or altered. Should this occur, use a pin with a blunt end to press the Reset Button at the rear of the device for more than 10 seconds.
-
Page 5: Maintaining The Device
MAINTAINING THE DEVICE • Please charge the device at the recommended temperature of 15º to 32ºC. • Use and keep the device in the recommended environment of 15º to 32ºC. Avoid using or storing the device in humid or dusty places. •... -
Page 6: Supplied Items
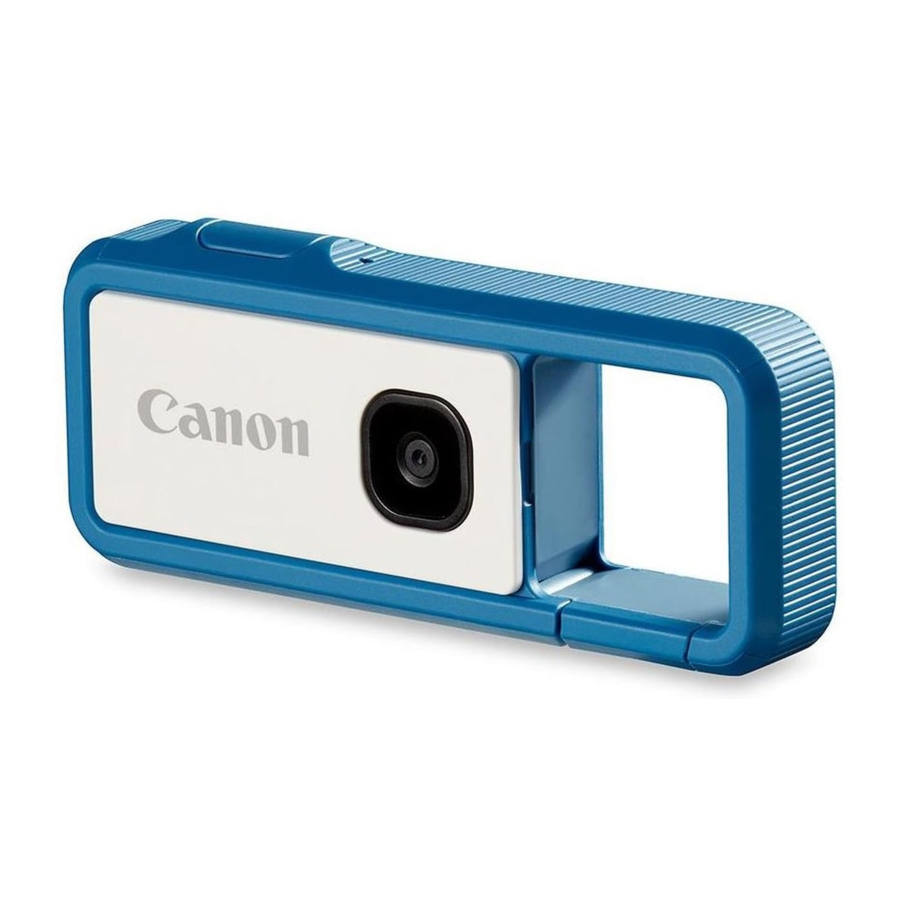
OVERVIEW SUPPLIED ITEMS Outdoor Camera Basic Setup Safety Precautions USB Cable and Warranty Information PRODUCT FEATURES Camera Lens Mode LED Detachable Faceplate Status LED Side Cover MicroSD Card Slot (up to 256GB) Latch Release Button Micro USB Port Strap Hole Shutter Button Tripod Screw Hole Microphone... -
Page 7: Getting Started
GETTING STARTED CHARGING MODE LED Charging: Fully Charged: Green Press on the latch release button, and slide the side cover upward to open it. Insert the smaller end of the supplied USB cable into the device and the other end into a chargeable USB adapter. -
Page 8: Inserting/Removing Microsd Card
INSERTING/REMOVING MicroSD CARD INSERT AND REMOVE THE MicroSD CARD • Press on the latch release button and slide the side cover upward to open it. • Insert the MicroSD card into the MicroSD card slot hidden by the side cover. You will feel a slight click when the card is fully inserted. - Page 9 An external MicroSD card (up to 256 GB) is needed for saving captured photos and videos. Only FAT16, FAT32 and exFAT formats are supported. Class 10 or above is recommended for a satisfying user experience. Use the following memory cards (sold separately) •...
-
Page 10: Power On/Off
• Keep your device firmware up-to-date. To check if your firmware needs to be upgraded, - open the Canon Mini Cam app, go to the Main Menu > Settings > Device info, then tap "Firmware Upgrade". - Make sure your mobile device has an internet connection before checking. If you need to upgrade the firmware, your camera must be charged to 50% or higher. -
Page 11: Camera Default Settings
- 3 minutes - 5 minutes - 10 minutes - You can change the default settings in the Canon Mini Cam app when the device is connected with your Mobile Device. - Bluetooth® is required. - The device will pair with your Mobile Device automatically after the first time pairing is done. -
Page 12: Wireless Mode
OPERATIONS WIRELESS MODE Connect your device to a Mobile Device for the operations below: • Remote shooting photo/video • Live View for photo/video capture • Access DCIM folders stored in the MicroSD Card, including being able to "View", "Delete", "Edit", or "Download the photo/video to Mobile Device" from the MicroSD card. PHOTO MODE •... -
Page 13: Multi Mode
MULTI MODE You can either capture photos or record videos using different shutter operations. PHOTO • Press the Shutter Button once to capture a photo. • Continuous photo recording is not available in Multi Mode. VIDEO • Press and hold the Shutter Button for more than 4 seconds to start video recording. -
Page 14: Led Indications
LED INDICATIONS Status LED Mode LED Status Mode LED Status LED Powered On & Standby (Photo/Video/Multi/ Green Wireless Modes) Powered Off/ Auto-Power off Low Battery Red (Blinking rapidly) Charging Fully charged Green Bluetooth® pairing Green > Red (Looping) Wi-Fi connected Green Photo captured and saved Red (Blink once) - Page 15 ACCESSORY DETACHABLE FACEPLATE The device has a detachable faceplate. Gently lift up the detachable faceplate to remove it. Customize the device by changing the faceplate. * Additional faceplates are sold separately.
-
Page 16: Troubleshooting
TROUBLESHOOTING When the Status LED is blinking red rapidly, it may be related to one of the following reasons. Error Actions Device does not work • Make sure the battery level is not too low. If it is, recharge the device •... -
Page 17: Specifications
GPS (Synchronize via App under Wireless mode) Compatible OS iOS 11 or above & Android 5.1 or above Mobile Application Canon Mini Cam Connection for Charging and USB 2.0 (Micro USB) Data Transfer All specifications are subject to change without notice... - Page 18 Google LLC. Bluetooth is a registered trademark of Bluetooth SIG. Wi-Fi is a registered trademark of the Wi-Fi Alliance. All other third-party product names, brand names and logos are trademarks of their respective owners. © CANON ELECTRONIC BUSINESS MACHINES (H.K.) CO., LTD. 2019 FV100-GEN-201912...