Canon iR1210 Installation Procedure
Hide thumbs
Also See for iR1210:
- Service bulletin (104 pages) ,
- Parts manual (89 pages) ,
- Service manual (424 pages)
iR1210/1230/1270F/1510/
1530/1570F
INSTALLATION PROCEDURE
iR1210/1230/1270F/1510/
1530/1570F
PROCÉDURE D'INSTALLATION
iR1210/1230/1270F/1510/
1530/1570F
INSTALLATIONSVERFAHREN
iR1210/1230/1270F/1510/
1530/1570F
PROCEDURE DI INSTALLAZIONE
Go through the steps herein when installing the machine.
Suivre les étapes contenues dans ce manuel lors de l'installation de la machine.
Gehen Sie die hier angegebenen Schritte durch, wenn Sie die Maschine installieren.
Per l'installazione della macchina, seguire attentamente le procedure indicate in
queste istruzioni.
E N G L I S H
F R A N Ç A I S
D E U T S C H
I T A L I A N O
Table of Contents

Related Manuals for Canon iR1210


Summary of Contents for Canon iR1210
- Page 1 1530/1570F INSTALLATION PROCEDURE iR1210/1230/1270F/1510/ 1530/1570F PROCÉDURE D’INSTALLATION iR1210/1230/1270F/1510/ 1530/1570F INSTALLATIONSVERFAHREN iR1210/1230/1270F/1510/ 1530/1570F PROCEDURE DI INSTALLAZIONE Go through the steps herein when installing the machine. E N G L I S H Suivre les étapes contenues dans ce manuel lors de l’installation de la machine.
-
Page 2: Checking The Contents
1530/1570F INSTALLATION PROCEDURE Go through the steps herein when installing the machine. Checking the Contents Open the shipping box, and take out the machine and accessories. Check to make sure that none of the following is missing: DELIVERY TRAY... -
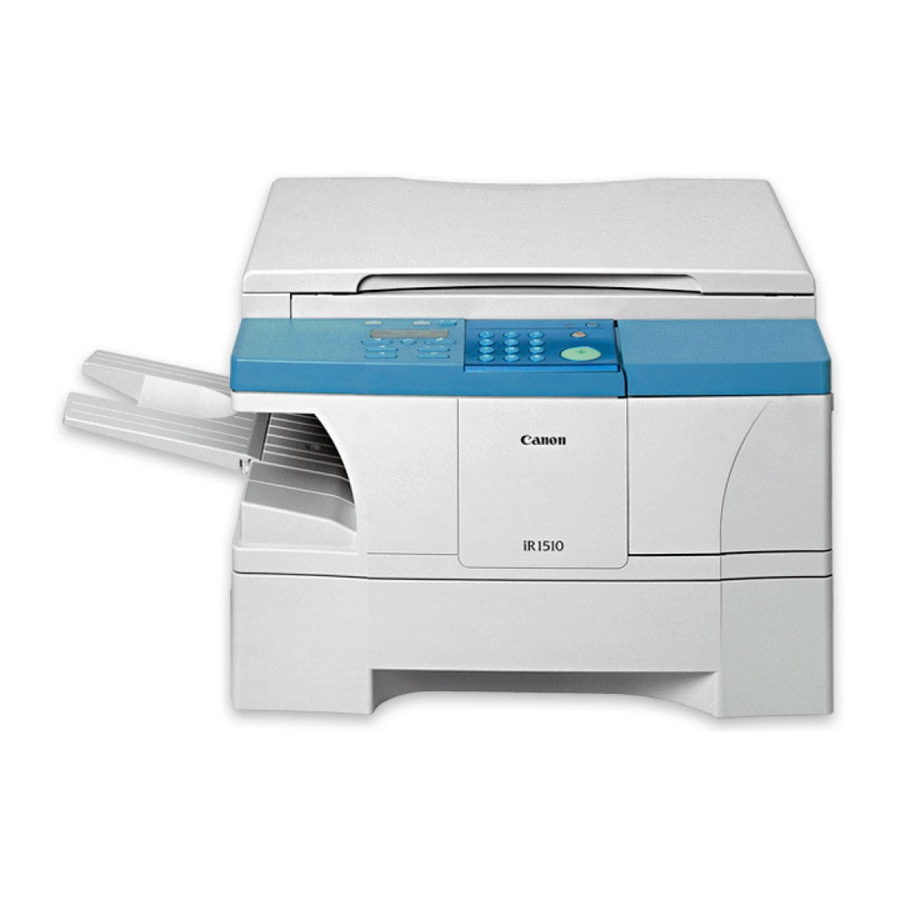
Page 3: Names Of Parts
Names of Parts 2.1 External View [13] [12] [11] [10] F2-1 Reader unit slide lever Cassette Reader unit Delivery tray ADF/Copyboard cover [10] Power cord connector assembly White roller [11] Modular cable connector assembly Copyboard glass [12] USB cable connector assembly Toner supply cover [13] Parallel interface cable connector assembly Control panel... - Page 4 2.2 Inside View F2-2 Drum shutter stopper Manual feed tray Cartridge cover Right door Cartridge Shipping screw slot 2.3 External View of the ADF F2-3 Original placement area Delivery slot Open/close cover Slide guide *1: Only for the iR1230/1270F/1530/1570F model. –...
-
Page 5: Control Panel
2.4 Control Panel [7] [8] Function Fax Monitor Redial / Pause Memory D.T. Reference Coded Dial Tone/+ Report Directory Delayed Space Transmission PQRS WXYZ Receive Mode Book Sending Delete Fax Resolution Clear [20] [19] [18] [22] [21] [17] [16] [15] [14] [11] [10]... - Page 6 [1] [2] [3] Function [17] Fax Monitor Redial / Pause [16] Memory D.T. Reference Coded Dial [15] Report Tone/+ Directory [14] Delayed Space Transmission Receive Mode [13] Book Sending Delete Fax Resolution Clear [12] [11] [10] F2-5 Tone/+ Key [10] Clear Key D.T.
- Page 7 Unpacking Point to Note Before Starting the Work 1) Holding the grips on the left and right of the machine, lift it out of the box. Go through the following before starting to install the machine: If the machine is moved from a cold to a warm place for installation, condensation can develop in its pickup/feeding assembly, causing image faults.
-
Page 8: Fitting The Cartridge
5) Open the cartridge cover. Fitting the Cartridge 1) Unpack the cartridge, and take it out without removing its wrappings. 2) Fully insert the cartridge in the direction of the arrow as indicated. F4-4 6) Store away the securing member removed in step 3 in the shipping screw slot. - Page 9 5) Holding the toner bottle lever, turn it Fitting the Toner bottle ∇ counterclockwise so that the mark on the toner bottle aligns with the mark on the 1) Open the toner supply cover. machine [1]. Close the toner cartridge lever [2]. If you can't turn the toner bottle, please push it into slot until stop and turn again.
- Page 10 Putting Paper in the Cassette Putting Paper in the Manual Feed Tray 1) Lift the paper cassette slightly, and pull it out until it stops. 1) Open the manual feed tray. F8-1 F7-1 2) Slid out the auxiliary tray. 2) Put paper in the cassette, under the claw must indicate what [1] and [2] are.
-
Page 11: Connecting The Interface Cable
Connecting the Interface Connecting the Modular Cable Cable (Only for the iR1270F/1570F model) 1) Connect the cable to the USB port if a USB cable is to be used, or to the parallel port if a 1) Connect one end of the modular cable to the parallel interface cable is to be used. - Page 12 Connecting the Power Cord Setting Fax Functions (Only for the iR1270F/1570F 1) Connect the power cord model) 15.1 Setting the Date/Time (user mode) 1) Press the Additional Functions key. 2) Press the Left/Right Arrow key, to select ‘5. TIMER SETTINGS’. 3) Press the OK key.