
Related Manuals for Nokia 5110 LCD

Summary of Contents for Nokia 5110 LCD
- Page 1 USER MANUAL Nokia 5110 LCD...
-
Page 2: Specifications
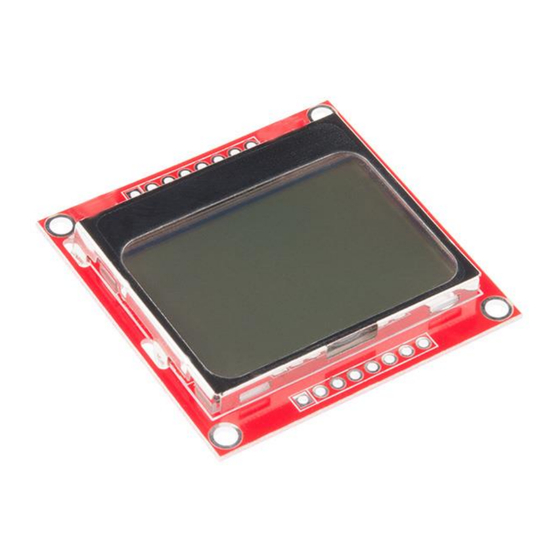
Introduction: This 84x48 pixel black and white LCDs are what you might have found in an old Nokia 3310 or 5110 cell phone. They’re not flashy, not colorful and there’s no touch screen. But, they are cheap and easy to control. If you’re looking to step up your project’s user interface (UI) from simple character displays or LEDs, this graphic LCD is a good place to start. -
Page 3: Circuit Connection
Circuit connection: LCD pin Arduino Pin Comment GND or any arduino digital pin set as LOW to turn on LCD backlight. LIGHT To turn off backlight, keep this pin disconnected or any arduino digital pin set as HIGH. LCD will be damaged if 5V is 3.3V connected LCD clock. - Page 4 Testing: Provide circuit connection as described earlier, install arduino library and then upload the “Nokia5110_LCD_PCD8544” sketch. Display Custom Image: You can display any image in this display. To do so, you need to Convert your image to 1 bit monochrome bitmap image. Reduce image size to fit in the resolution of 84 X 48 pixel of the LCD.
- Page 5 STEP 2: Save the picture as “Monochrome Bitmap”. STEP 3: Download LCD Assistant. It’s available in the document section of this product page. You can also download it from here. Unzip the file and open “LCDAssistant.exe”. Go to File >> Load Image and then select the monochrome bitmap image that you’ve created in STEP 2.
- Page 6 Go to File >> Save output. Give your file a name and save it. No file extension is needed. STEP 4: Open the created file using notepad and copy everything within the brackets as shown below. STEP 5: Open code “Nokia5110_LCD_Custom_Image” (See Arduino Codes section to download it). Then Paste what you’ve copied in STEP 4, within the brackets, just like the picture below.
- Page 7 STEP 6: Upload the code to arduino. If everything you’ve done is correct, you’ll see your image on the LCD.