
Related Manuals for Sony A 6000


Summary of Contents for Sony A 6000
- Page 1 4-579-410-11(1) Interchangeable Lens Digital Camera E-mount Instruction Manual “Help Guide” (Web manual) Refer to “Help Guide” for in-depth instructions on the many functions of the camera. http://rd1.sony.net/help/ilc/1540/h_zz/ ILCE-6300...
-
Page 2: Learning More About The Camera ("Help Guide")
Guide” on your computer or smartphone. Refer to it for in-depth instructions on the many functions of the camera. URL: http://rd1.sony.net/help/ilc/1540/h_zz/ Viewing the Guide This camera is equipped with a built-in instruction guide. In-Camera Guide The In-Camera Guide displays explanations for the currently selected menu function or setting. - Page 3 • Be sure to charge the battery pack using a genuine Sony battery charger or a or moisture. device that can charge the battery pack. • Keep the battery pack out of the reach of IMPORTANT SAFETY small children.
-
Page 4: Usa And Canada
Use the power cord (B). For Customers in the U.S.A. If you have any questions about this product, you may call: Sony Customer Information Center For Customers in the 1-800-222-SONY (7669). U.S.A. and Canada The number below is for the FCC related matters only. -
Page 5: For Customers In Canada
However, there is no guarantee that Konan Minato-ku Tokyo, 108-0075 Japan interference will not occur in a particular For EU product compliance: Sony installation. If this equipment does cause Belgium, bijkantoor van Sony Europe harmful interference to radio or television... - Page 6 The electromagnetic fields at the specific For more detailed information about frequencies may influence the picture and recycling of this product or battery, please sound of this unit. contact your local Civic Office, your household waste disposal service or the Disposal of waste batteries shop where you purchased the product or battery.
- Page 7 Table of contents Preparing the camera Step 1 P. 8 – Checking the supplied items – Identifying parts – Inserting the battery pack – Charging the battery pack – Inserting a memory card (sold separately) – Attaching/removing the lens – Setting the language and the clock Basic operation Step 2 P.
-
Page 8: Checking The Supplied Items
Checking the supplied items First check the model name of your camera (page 7). The accessories supplied differ depending on the model. The number in parentheses indicates the quantity. Supplied with all models • Shoulder strap (1) • Camera (1) •... -
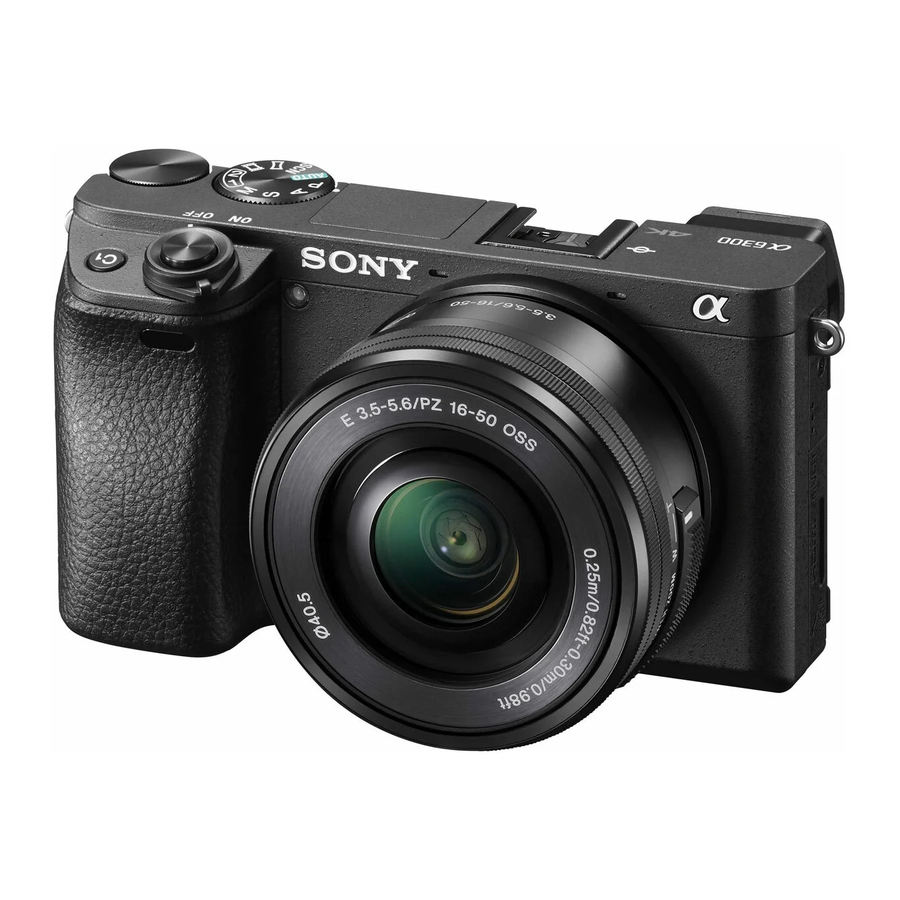
Page 9: Identifying Parts
Identifying parts When the lens is removed A Multi interface shoe Image sensor position mark C Hook for shoulder strap A Shutter button D Speaker B C1 (Custom 1) button E Flash C Remote sensor • Press the (Flash pop-up) D Wi-Fi antenna (built-in) button to use the flash. - Page 10 Multi/Micro USB Terminal, visit the you intend to use the viewfinder. Sony web site, or consult your Sony Attaching/removing the dealer or local authorized Sony eyepiece cup service facility.
- Page 11 O Monitor Y C2 (Custom 2) button/ (Delete) button • You can adjust the screen to an easily viewable angle and shoot (Playback) button from any position. P Diopter-adjustment dial • Adjust the diopter-adjustment dial to your eyesight until the display appears clearly in the viewfinder.
- Page 12 C Tripod socket hole Lens • Use a tripod with a screw less See page 45 on the specifications of than 5.5 mm (7/32 inches) long. the lenses. Otherwise, you cannot firmly E PZ 16 – 50 mm F3.5 – 5.6 secure the camera, and damage to the camera may occur.
-
Page 13: Inserting The Battery Pack
Inserting the battery pack Battery lock lever Open the cover. Insert the battery pack. • While pressing the battery lock lever, insert the battery pack as illustrated. Make sure that the battery lock lever locks after insertion. • Closing the cover with the battery inserted incorrectly may damage the camera. -
Page 14: Charging The Battery Pack
Charging the battery pack Charge lamp Lit: Charging Off: Charging finished Flashing: Charging error or charging paused temporarily because the camera is not within the proper temperature range Connect the camera to the AC Adaptor (supplied), using the micro USB cable (supplied). Connect the AC Adaptor to the wall outlet (wall socket). -
Page 15: Charging By Connecting To A Computer
(wall socket) immediately to disconnect from the power source. • When charging is finished, disconnect the AC Adaptor from the wall outlet (wall socket). • Be sure to use only genuine Sony brand battery packs, micro USB cable (supplied) and AC Adaptor (supplied). Charging time (Full charge) The charging time is approximately 150 minutes using the AC Adaptor (supplied). - Page 16 • The number of images that can be recorded is for shooting under the following conditions: – Using a Sony Memory Stick PRO Duo™ (Mark2) media (sold separately). – When an E PZ 16 – 50 mm F3.5 – 5.6 OSS lens is attached.
-
Page 17: Supplying Power
Supplying power You can use the camera while power is supplied from a wall outlet (wall socket) by using the AC Adaptor (supplied). Notes • The camera will not activate if there is no remaining battery. Insert a sufficiently charged battery pack into the camera. •... -
Page 18: Inserting A Memory Card (Sold Separately)
Inserting a memory card (sold separately) Ensure the notched corner faces correctly. Open the cover. Insert the memory card. • With the notched corner facing as illustrated, insert the memory card until it clicks into place. Close the cover. Memory cards that can be used For movies For still Memory card... - Page 19 PlayMemories Home. • Not all memory cards are guaranteed to operate correctly. For memory cards produced by manufacturers other than Sony, consult the manufacturers of the products. • When using Memory Stick Micro media or microSD memory cards with this camera, make sure to use with the appropriate adaptor.
-
Page 20: Attaching/Removing The Lens
Attaching/removing the lens Set the ON/OFF (Power) switch of the camera to OFF before you attach or remove the lens. If the cap or the packaging lid is attached, remove it from the camera or the lens. • Change the lens quickly somewhere away from dusty locations to keep dust or debris from getting inside the camera. -
Page 21: Removing The Lens
Removing the lens Lens release button Press the lens release button all the way in and turn the lens counterclockwise until it stops. Notes • If dust or debris gets inside the camera while you are changing the lens and adheres to the surface of the image sensor (the part that converts the light source to a digital signal), it may appear as dark spots on the image, depending on the shooting environment. -
Page 22: Setting The Language And The Clock
Setting the language and the clock Control wheel ON/OFF (Power) Select items: Set the numeric value of date and time: Set: Set the ON/OFF (Power) switch to ON. Language setting screen is displayed when you turn on the camera for the first time. -
Page 23: Shooting Still Images/Movies
Shooting still images/movies Shutter button MOVIE Shooting still images Press the shutter button halfway down to focus. When the image is in focus, the z or indicator lights. Press the shutter button fully down to shoot an image. Shooting movies Press the MOVIE (Movie) button to start recording. -
Page 24: Viewing Images
Viewing images : Zoom in Adjust: turn the control wheel Control wheel (Playback) Select images: (Delete) B (next)/b (previous) or turn the control wheel Set: z Press the (Playback) button. Selecting next/previous image Select an image by pressing B (next)/b (previous) on the control wheel or by turning the control wheel. -
Page 25: Introduction Of Other Functions
Introduction of other functions MENU Control dial Control wheel AF/MF/AEL switch lever Fn (Function) Control wheel DISP (Display Contents): Allows you to change the screen display. ISO (ISO): Allows you to set the sensitivity based on the brightness. (Image Index): Allows you to view multiple images in a single-image screen at the same time. -
Page 26: Menu Items
AF/MF/AEL switch lever You can switch the function of the AF/MF/AEL button to AF/MF or AEL by changing the position of the AF/MF/AEL switch lever. When you move the AF/MF/AEL switch lever to the AF/MF position and press the button, the focusing mode temporarily switches between auto and manual (AF/MF control). - Page 27 AF Track Sens Sets the AF tracking sensitivity in movie mode. Exposure Comp. Compensates for the brightness of the entire image. Selects the size of the increment step for shutter Exposure step speed, aperture, and exposure. Sets the ISO sensitivity. Sets the slowest shutter speed at which ISO ISO AUTO Min.
- Page 28 You can shoot selecting either Intelligent Auto or Auto Mode Superior Auto. Selects pre-set settings to match various scene Scene Selection conditions. Selects the exposure mode to suit your subject or Movie/HFR effect. Sets SteadyShot for shooting still images and movies. SteadyShot Reduces blur from camera shake when shooting while holding the camera.
- Page 29 Sets auto review to display the captured image after Auto Review shooting. Sets the type of information to be displayed on the DISP Button monitor or in the viewfinder by pressing DISP on the control wheel. Enhances the outline of in-focus ranges with a Peaking Level specific color when focusing manually.
- Page 30 Sets the timing of the shutter release when [Focus Priority Set in AF-C Mode] is set to [Continuous AF] or [Automatic AF] with a moving subject. Sets whether to perform AF when the shutter button is AF w/ shutter half pressed. This is useful when you want to adjust the focus and exposure separately.
- Page 31 Adjusts the exposure compensation with the control Dial/Wheel Ev Comp dial or the control wheel. Assigns the zoom in/out to the rotational direction of Zoom Ring Rotate the zoom lens. This function is only available with a power zoom lens that is compatible with this function. MOVIE Button Sets whether to always activate the MOVIE button.
- Page 32 (Application) Displays the application list. You can select the Application List application you want to use. Introduction Displays instructions on using the application. (Playback) Delete Deletes an image. Sets the way in which images are grouped for View Mode playback. Image Index Displays multiple images at the same time.
- Page 33 Sets whether Delete or Cancel is preselected in the Delete confirm. Delete confirmation screen. Display Quality Sets the display quality. Sets the time intervals to automatically switch to Pwr Save Start Time power save mode. By changing the TV format of the device, shooting in NTSC/PAL Selector * a different movie format is possible.
- Page 34 Creates a new folder for storing still images and New Folder movies (MP4). Folder Name Sets the folder name for still images. Recovers the image database file and enables Recover Image DB recording and playback. Displays the remaining recording time of movies and Display Media Info.
-
Page 35: Using Software
Using the Internet browser on your computer, go to one of the following URLs, and then follow the instructions on the screen to download the desired software. Windows: http://www.sony.co.jp/imsoft/Win/ Mac: http://www.sony.co.jp/imsoft/Mac/ • An Internet connection is required. • For details on operation, refer to the support page or Help page of the software. -
Page 36: Importing Images To Your Computer And Using Them (Playmemories Home)
The software PlayMemories Home allows you to import still images and movies to your computer and use them. PlayMemories Home is required for importing XAVC S movies and AVCHD movies to your computer. http://www.sony.net/pm/ Playing back imported images Importing images from your camera... -
Page 37: Adding Functions To The Camera
Still images The table below shows the approximate number of images that can be recorded on a memory card formatted with this camera. The values are defined using Sony standard memory cards for testing. Image Size]: L: 24M When [... - Page 38 Movies The table below shows the approximate total recording times using a memory card formatted with this camera. The recording time for XAVC S and AVCHD movies is the recording time when shooting with [Dual Video REC] set to [ Recordable time (h (hour), m (minute)) File Record Setting...
-
Page 39: Notes On Continuous Movie Recording
• Continuous shooting is possible for approximately 29 minutes (a product specification limit). However, the duration of time available for continuous movie recording varies under the following conditions. – High Frame Rate shooting: Approximately 7 minutes at [30p 16M]/[25p 16M]; approximately 5 minutes 30 seconds at [24p 12M] –... -
Page 40: Notes On Using The Camera
Notes on using the camera Functions built into this camera • This camera is compatible with 1080 60p or 50p-format movies. Unlike standard recording modes up to now, which record in an interlacing method, this camera records using a progressive method. This increases the resolution, and provides a smoother, more realistic image. - Page 41 On using the lenses and accessories It is recommended that you use Sony lenses/accessories designed to suit the characteristics of this camera. Using the products of other manufacturers may cause the camera not to operate to its capability, or result in accidents and malfunctions of the camera.
- Page 42 No guarantee in the case of damaged content or recording failures Sony can provide no guarantees in the event of failure to record or loss or damage of recorded images or audio data due to a malfunction of the camera or recording media, etc.
-
Page 43: Specifications
(switchable between 1/3 and 1/2 EV steps) [System] Camera type: Interchangeable lens [Shutter] digital camera Type: Electronically-controlled, Lens: Sony E-mount lens vertical-traverse, focal-plane type Speed range: [Image sensor] Still images: 1/4 000 second to Image sensor: APS-C format (23.5 mm 30 seconds, BULB ×... - Page 44 File format: Hi-Speed USB (USB 2.0) Still image: JPEG compliant (DCF * Supports Micro USB compatible Ver. 2.0, Exif Ver. 2.3, MPF device. Baseline), RAW (Sony ARW 2.3 HDMI: HDMI type D micro jack Format) (Microphone) Terminal: Movies (XAVC S format): 3.5 mm Stereo mini jack...
- Page 45 Lens E PZ 16 – 50 mm F3.5 – [Wireless LAN] 5.6 OSS* (supplied with Supported format: IEEE 802.11 b/g/n ILCE-6300L) Frequency band: 2.4 GHz Equivalent 35 mm-format focal Supported security protocols: WEP/ length : 24 mm – 75 mm WPA-PSK/WPA2-PSK Lens groups –...
- Page 46 • YouTube and the YouTube logo are of Sony Corporation. trademarks or registered trademarks • XAVC S and of Google Inc. registered trademarks of Sony • Eye-Fi is a trademark of Eye-Fi, Inc. Corporation. • In addition, system and product • “AVCHD Progressive” and names used in this manual are, in “AVCHD Progressive”...
- Page 47 GPL/ LGPL. Source code is provided on the web. Use the following URL to download http://oss.sony.net/Products/Linux/ We would prefer you do not contact us about the contents of source code. Licenses (in English) are recorded in the internal memory of your product.
- Page 48 Additional information on this product and answers to frequently asked questions can be found at our Customer Support Website. © 2016 Sony Corporation Printed in Thailand...